- Details
- Category: Miso
Similar to my adventures into miso, I didn't really know much of anything about koji before deciding to get started. But why would I let that stop me.
Wow, this was way too much rice. Why did I use my last 2 cups of rice? I have never even made 2 cups of rice.
March 28, 2020 (Remember, social distancing)
Okay, so maybe I didn't need to use my last two cups of rice to (try to) make koji, but that just proves my dedication to my craft (or my foolhardiness). Either way, I realized that I needed more koji than I had purchased online. Because my soybeans were already hydrating, I was committed. I did search online for some info on how to start a koji culture, and didn't find what I was hoping for. Most of the guides I found stated that it was important to have a spore culture of koji-kin before growing koji. The mold, Aspergillus oryzae, grows quite easily and can be grown from a wild fermentation, but this is not recommended. Another site mentions briefly that you can mix your purchased koji with prepared rice instead of using a culture of spores. Without further info I jumped in! I followed the instructions Instructables gave for using spores but just replaced the spores with a small amount of the koji I purchased.
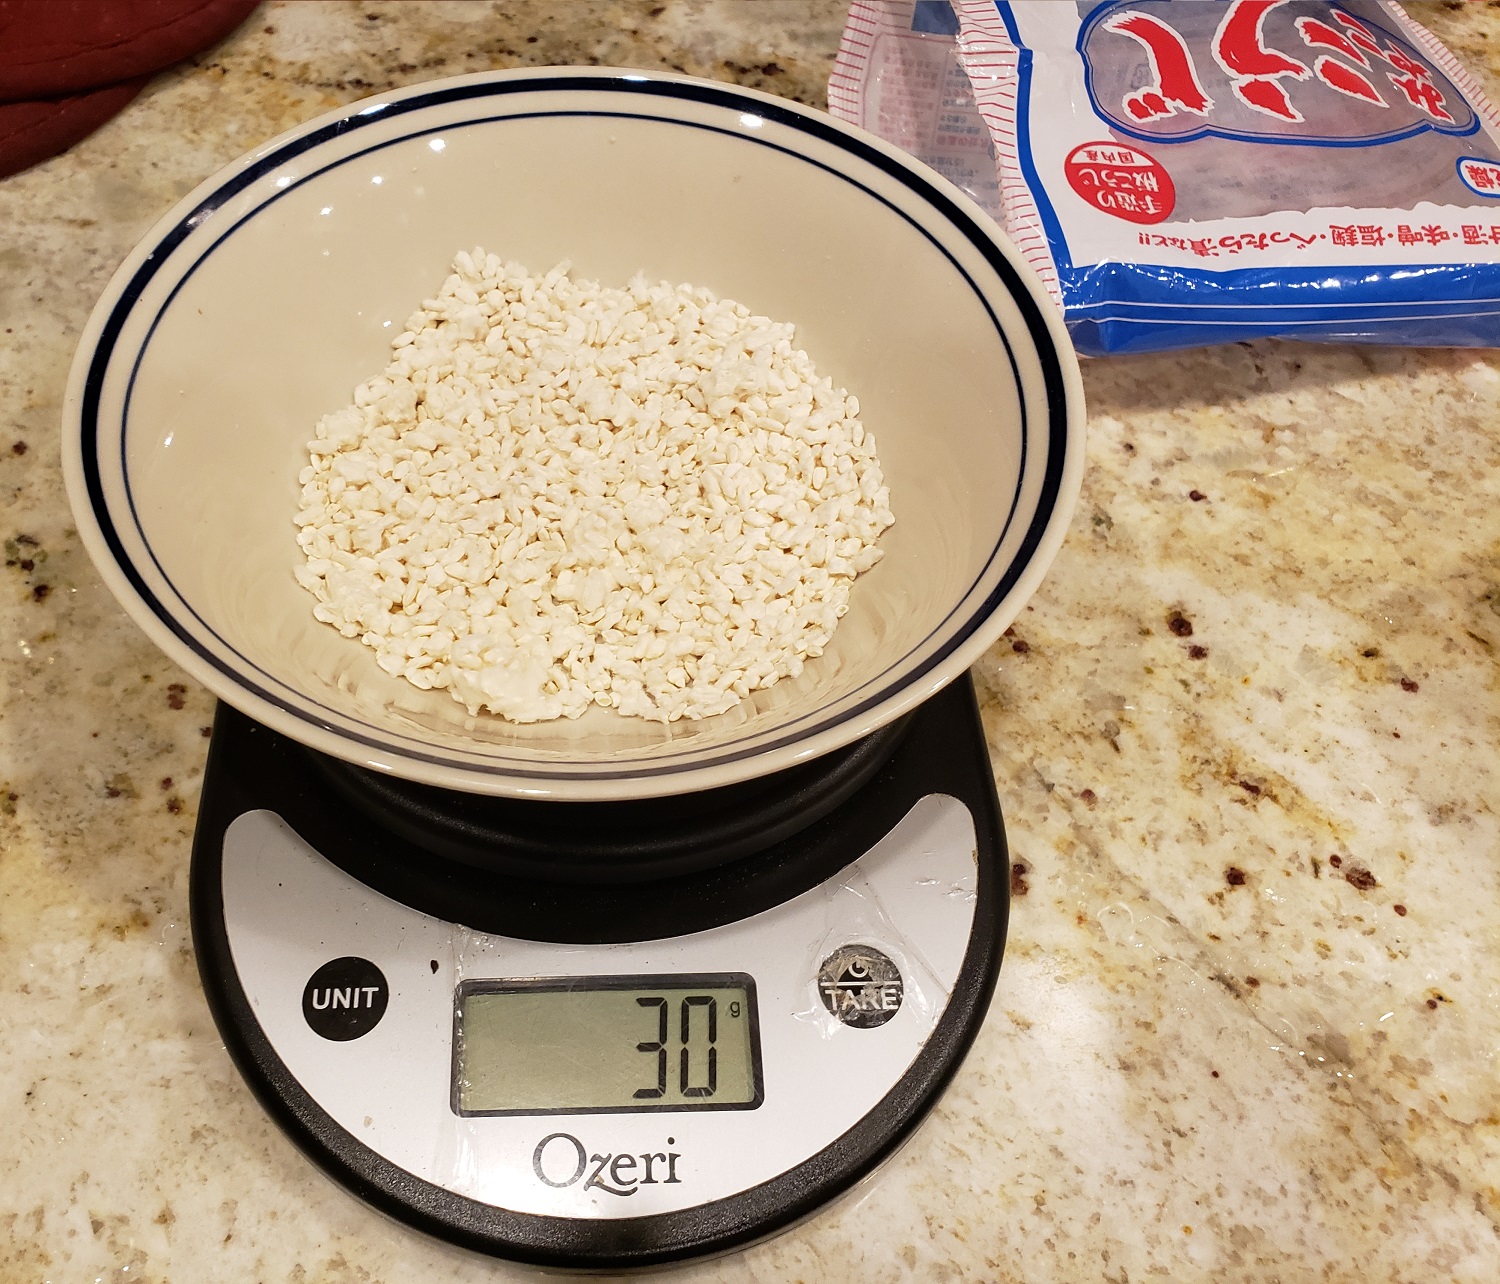

I only used 30g to make for a more round number to use for making miso. The two cups of rice mentioned above made for a large bed for the koji. I cooked it more than I would prefer to eat, assuming that the grains would open up a bit for the mold to get a strong foothold. I wasn't very gentle with the rice or the koji. They don't need whole rice grains to grow, they will be happy with just about any substrate.
Because I had SO MUCH rice, I split some inoculated rice into Mason jars. Hopefully, the tray and jars will grow mold, but I will leave the jars for another day or two so they begin to spore (for easier growth next time). My expectations aren't very high based on the warnings of others. Luckily, I already have practice setting the temperature of my incubation chamber from making yogurt! Koji should be kept around 90°F and high humidity. I have no way to avoid near 100% humidity with my current setup, but I will not try to fix that now. I heated water (not to boiling, but about 150°F) and preheated the chamber before adding the tray and jars, with towels draped over them.
March 29, 2020
Things look good to start the day! Upon opening the lid of the cooler-turned-fermenter I can smell the slightly fruity aroma of the koji. The tendrils of mold are difficult to see on camera, but quite stark in person. I am impressed how well the mold is spread across the surface of the rice. It barely passed below the surface layer, but the entire surface is COATED.
- Details
- Category: Miso
I had committed myself to making miso before I really knew what my plan was. I, of course, was inspired by Brad Leone on Bon Appetit and wanted to jump right in. Here are a few simple steps to follow exactly what I did:
- Purchase fermentation crock (cookie jar from thrift store)
- Buy a kilo of dried soybeans (very cheap)
- Soak entire kilo of soybeans in water (obviously I needed to use the entire bag without thinking)
- Slowly reevaluate your choices as the soybeans pour out of the container
- Use only 1 quarter of the soaked soybeans, store others in a bag for later use...
- Start to look up recipes now and find that you should have known all along that you didn't need that many soybeans
")
")
So there I was (and still am) with a lot of extra soybeans and not enough facilities to turn them all into miso. I had another big problem:
Koji rice is rice inoculated with the mold Aspergillus Oryzae and it is essential to making miso, soy sauce, and sake. I purchased some koji rice online (loca Asian market did not have it) and assumed I had enough for what I wanted. This, of course, proved incorrect very quickly after searching for a recipe. (Note: in my search I came across Sandor Katz and decided to purchase his book, The Art of Fermentation, but that isn't gonna help me as I figure this out.) A few sites gave different suggestions for ratios, so I just sorta averaged them and made up some numbers that allowed me to use nearly my entire culture of koji.
- 250 g dry soybeans, soaked overnight then boiled for 30 minutes
- 125 g pickling salt, dissolved in 1 cup of bean cooking liquid
- 200 g koji
The package of koji came with 230 g, read here to find out why I didn't use it all for miso.
Great! Everything seems like it is sorted out!
Not quite. Mashing the beans was much more difficult than I thought when unaided by a potato masher. I made do with a fork at first, but quickly switched to chopping with a knife. After getting it all processed, I mixed in the koji and saltwater before transferring everything into my fermentation crock/cookie jar. I sprinkled some extra salt onto the surface as a protective layer.

Because I did not buy a nice fermentation crock, I do not have convenient weights to press the contents of the jar. I cut a piece of cardboard to match the approximate area of the surface, cut it in half (remember that a circle is the only simple polygon that cannot fall into a hole of its own shape and size, think manhole covers) and placed a ziploc bag full of water on top. My lid fits okay, but I wrapped it in plastic wrap to make a sort of gasket anyway...we really do not want oxygen present at all, otherwise we will almost certainly encounter mold.
Make sure to sit and watch, it's almost done!
Not quite. I don't really know how long this will take to get where I want. I should know after a few weeks if I am on the right track or if I got my proportions way wrong. My goal is to have solid miso paste in 6 months. Until then, I will check in and pull of the liquid tamari when the opportunity arises. I also want to start a second fermentation and make a few changes.